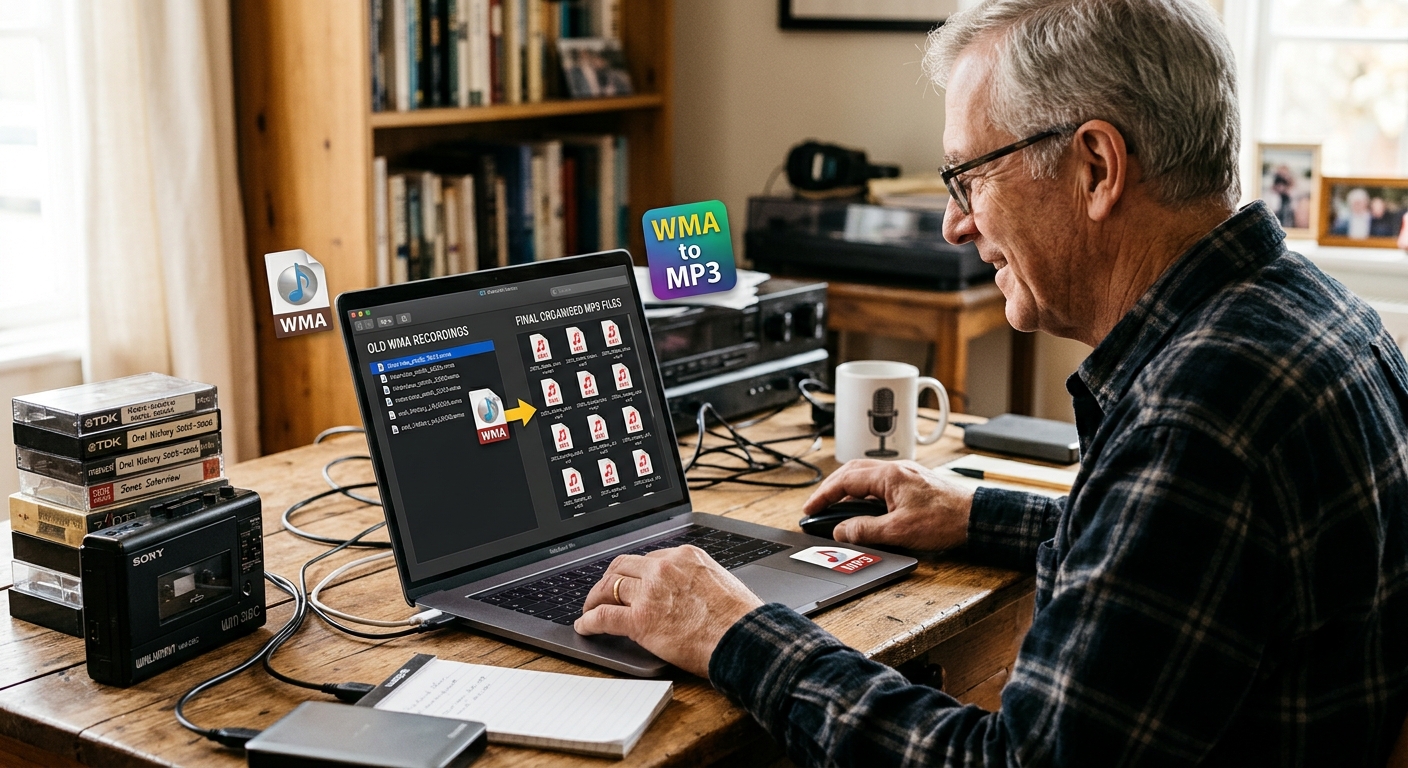
The interview is still there, but the file will not play where you need it. Perhaps it holds your grandmother’s childhood stories, a conversation for a research project, or an interview you recorded years ago. Old WMA files can create that kind of friction. Turning them into MP3 files makes everyday listening easier. A careful workflow also keeps your originals safe and gives each recording a name you can recognize months later.
Your Recording Rescue Plan: Keep an untouched copy of every WMA file before converting anything. Test one interview as an MP3, check its length and playback, then convert the rest using the same settings. Give each recording a consistent filename and keep related notes nearby. Transcripts can help you locate quotes later, but they remain optional. Finish by backing up both formats so your listening copies and original recordings stay available.
Protect the Original Interviews Before You Convert
Start with copies. Conversion should create a new MP3 file while leaving the original WMA file in place. Even if a conversion app promises to preserve its input files, working from a duplicate adds a useful layer of protection.
Create a main folder called Interview Archive. Inside it, create folders named WMA Originals, MP3 Listening Copies, and Notes and Transcripts. Copy your recordings into WMA Originals. If they came from an old recorder, external drive, or memory card, keep that source untouched until you have checked the archive.
Before starting, gather a few details that files alone might not tell you:
- The interview date, if known.
- The speaker’s name or a private identifier.
- The main topic and any separate recording parts.
- Any listening restrictions or permission notes.
- Existing filenames that need to stay connected to research notes.
A plain text document is enough for these details. For private interviews, use a participant code in filenames instead of a full name. Store the document that connects codes to identities separately if the material requires confidentiality.
Choose Settings That Keep Speech Clear
MP3 is a useful listening format because many computers, phones, and audio apps support it. Converting WMA to MP3 does not restore missing detail or repair a poor recording. It creates another compressed version, which is why keeping the source matters.
For ordinary spoken interviews, 128 kbps is a sensible starting point. Listen to a sample before applying it to your whole collection. A higher setting, perhaps 192 kbps, may suit recordings that also contain music or detailed background sound. A larger file does not guarantee a clearer voice.
Leave the sample rate at its original value when the converter allows it. Raising it will not make an old interview more detailed. Keep the existing channel arrangement for your first conversion, too. Some interviews place different microphones or speakers in separate channels. Combining those channels without checking could make later editing harder.
Avoid applying noise removal, volume changes, and silence trimming during the first conversion. Get a faithful listening copy first. You can make a separate edited version later if necessary.
Convert WMA Interviews on Windows
On Windows, use an audio conversion app that explicitly accepts WMA input and exports MP3. A player that opens a WMA file does not necessarily convert it. Check for a conversion or export feature before importing a large batch.
The exact button names vary, but the basic process stays consistent:
- Add one WMA file. Choose a short interview or a representative recording from your collection.
- Select MP3 as the output format. Changing the filename extension alone does not convert audio.
- Choose your audio settings. Start with 128 kbps for speech and preserve the original sample rate and channels where possible.
- Set the destination folder. Save the result in MP3 Listening Copies, away from your originals.
- Run the conversion. Wait until the app reports completion before opening the output.
- Check the MP3. Listen and compare its duration with the source before converting more files.
In File Explorer, turn on filename extensions if they are hidden. Depending on your Windows version, this option appears under View or the folder viewing settings. Seeing both .wma and .mp3 helps you tell the files apart.
If you prefer an online converter, check its upload limits and privacy terms first. Uploading sends a copy of the interview to another service. For sensitive conversations, a desktop tool that processes files locally may better fit your needs.
Convert WMA Interviews on a Mac
On a Mac, begin with a converter that lists WMA among its supported input formats. Do not assume that an app can import a recording simply because it can create MP3 files. Input support and output support are separate features.
Copy one WMA interview into your working folder. Open it through the converter’s Add, Open, or Import control. Choose MP3 as the output, select your speech settings, and save the result into MP3 Listening Copies. Keep the source filename recognizable during this test.
If the app refuses to open the file, check whether it supports that particular WMA recording. Older files can use different encoding variations. Some may also carry copy protection. An error does not automatically mean the interview is damaged, and ordinary conversion cannot remove access restrictions.
Finder can display filename extensions through its advanced settings. Keeping extensions visible makes it easier to confirm which version you are opening. After conversion, play the MP3 in the app you expect to use regularly. If your goal is listening on an iPhone, transfer one test recording and check playback there before moving the entire collection.
Make Quotes Easier to Find With Optional Transcripts
Once your first MP3 passes its playback check, consider whether a transcript would help. For a five-minute conversation, listening may be enough. For hours of interviews, searchable text can save repeated trips through the same recording.
Using mp3 to text can provide a searchable draft that helps you locate names, topics, and possible quotes. This is an optional step. Your audio archive still works without it.
Treat machine-produced text as a draft. Background noise, overlapping voices, accents, and unfamiliar names can cause errors. Before quoting someone, return to the recording and confirm the words in context. If timestamps are available, keep them with your notes so you can return to the relevant passage.
Save the transcript with the same base filename as its audio file. For example, 2008-04-19_p014_school-memories_part01.txt can sit beside the corresponding recording in your archive structure. Check upload permissions and privacy terms before sending personal interviews to any transcription service.
Check Playback Before Converting the Whole Collection
A completed conversion message is only the first check. Open the MP3 and compare its reported duration with the WMA source. Small display differences can occur, but a substantial mismatch deserves investigation.
Listen near the beginning, around the middle, and close to the end. Include a quiet passage and a moment when speakers overlap, if the recording contains them. Listen for missing speech, clicks, unexpected silence, or a voice that has become harder to understand.
Use headphones for part of this check. They can reveal a missing channel that laptop speakers may make less obvious. If one speaker seems absent, compare the original and confirm that the conversion preserved both channels.
For an irreplaceable interview, a complete listen offers more confidence than spot checks. Check every finished file at least briefly, even after your first test succeeds. A batch can contain recordings made with different settings.
Name Files Consistently Without Guessing Missing Details
A useful filename answers a few basic questions before you press play. A consistent pattern also keeps related recordings together when a folder is sorted alphabetically.
Try YYYY-MM-DD_speaker_topic_part01.mp3. For example, 2008-04-19_p014_school-memories_part01.mp3 identifies the date, participant, topic, and recording part. Use a matching base name for the WMA original if you choose to rename it, and record its previous name in your notes.
Use short topics and ordinary letters, numbers, hyphens, and underscores. Avoid punctuation that operating systems may reject, including slashes and colons. Number separate parts as part01, part02, and onward so they sort predictably.
If the date is unknown, write date-unknown instead of inventing one. A file’s creation or modification date may reflect when it was copied, rather than when the conversation happened. Put partial date information and uncertainty in your notes.
Keep the Archive Manageable as It Grows
After checking your first conversion, process the remaining recordings in manageable batches. A batch grouped by interview project or year is easier to review than hundreds of unrelated files at once. Check the output count against the source count before marking a batch complete.
Keep a simple record with the source filename, final filename, conversion date, and playback status. Add a note for anything unusual, including a damaged opening, uncertain date, or missing recording part. This prevents repeated troubleshooting later.
MP3 tags can also help audio apps display a readable title. Add an interview title and a consistent project or collection name if useful. Check these details after conversion because metadata does not always transfer between formats. Filenames should remain useful even when an app ignores tags.
Back up the entire archive, including originals, MP3 copies, notes, and transcripts. Keep another copy on a separate device or in an appropriate backup service. A second folder on the same drive will not protect the collection if that drive fails. Open a few files from the backup to confirm that they copied successfully.
Give Every Interview a Clear Place to Live
The finished collection should be easy to browse and comfortable to trust. Each interview has an untouched source, a checked MP3 listening copy, and a filename that explains what it contains. Related notes and optional transcripts share that same identity.
Start with one recording and carry it through the whole process. Once you can find it, play it, and trace it back to its original, you have a repeatable method for the rest. Those old conversations can then become part of an accessible archive, ready whenever you need to hear a voice or confirm a quote.